Tabs

Thursday, May 19, 2011

.Wishlist Friday . #2

Pin It


I did it again. Ugh.
I said I would stick to posting up a blog at least every friday and naturally I forget to do it :/
I apologize for my laziness/forgetfulness. I'm 30....it comes with the territory. I mean, 27. Ya, thats right... 27 years young;) hehe.
Anyway, if you didn't catch my first wishlist post, I decided that I would compile a list every friday of things that I find interesting and would someday like to add to my every growing collection of baking paraphenalia. Whoa, that sounds illegal....
Oh by the way, I found a new set of measuring cups!! HOOORAY! Its not the cupcake-shaped ones that I really wanted but these were cute enough. And they're colorful too:)

Tada! I found these beauties at Ross:) ....together with a matching set of measuring spoons. Score!

....................


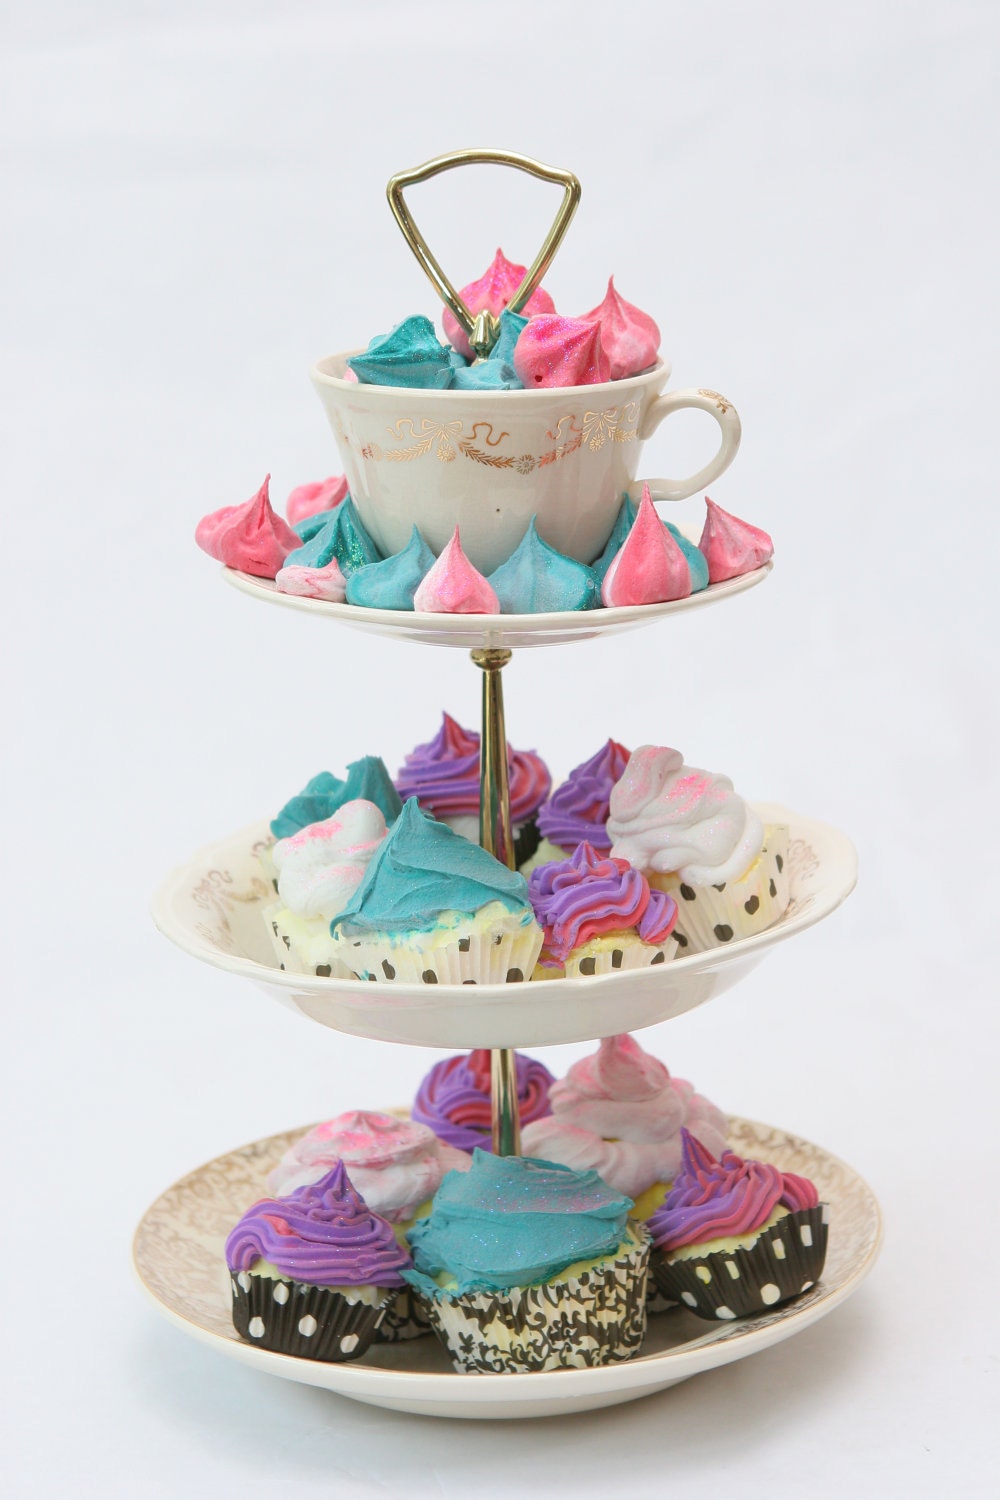
For this post I wanted to share some of the really cute cake stand/pastry servers I've seen online. I've had my eye on a tiered one. They are just soooooo adorable. Yes, I know. I'm weird.

This cupcake stand is from williams sonoma. So pretty!


Here's a cabbage type cake stand. I like the color, but not really digging the cabbage design.


This one I like! Its also from williams sonoma. It even comes in two other sizes (small & medium) and you can stack them to create a tiered look. simple and cute:) I really love the scalloped edges!!!


I thought this was unique. Cute for a woodsy type dessert setting. This one is from bragging bags on etsy.com


Gah! This one even has a teacup on top! Made by the mad planter on etsy.com


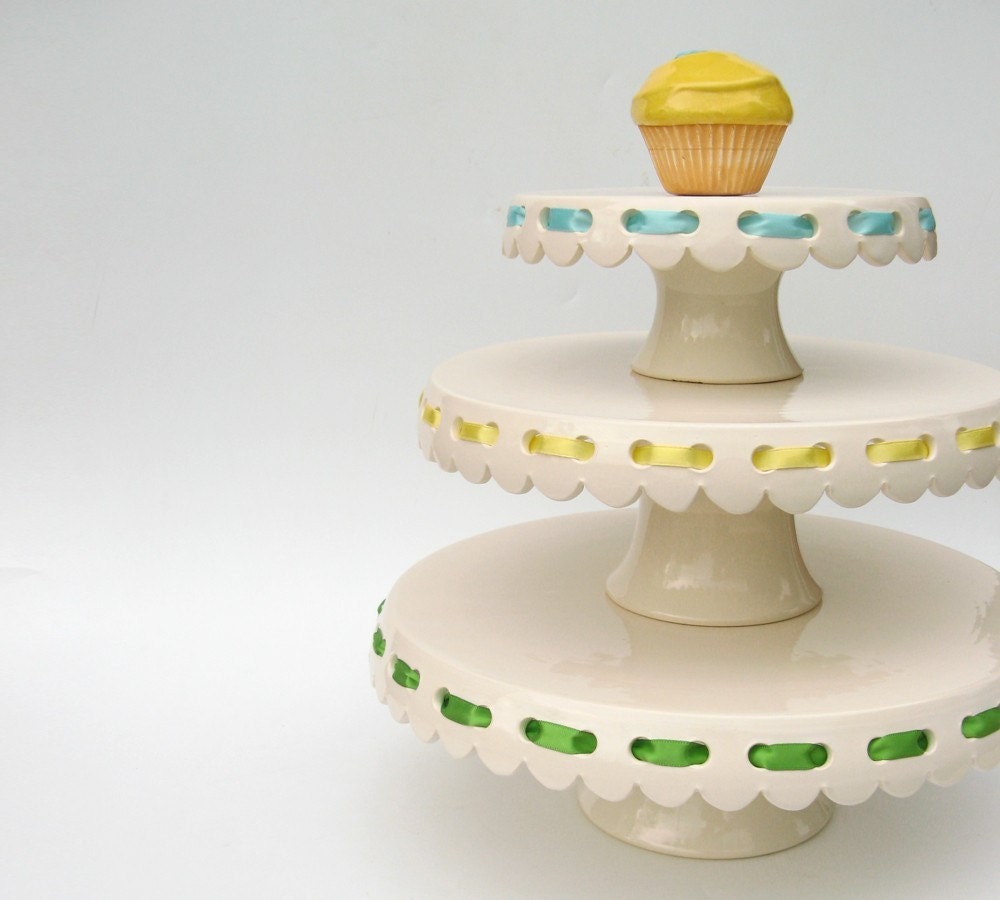
This is my all-time favorite. Simple white with scalloped details. l....o...v...e....!!! the ribbons are even interchangable so you could match it with your theme:) This by vesselsandwares at etsy.com.


....................


Well thats about all the ones I've discovered. Hopefully I can "treasure hunt" at Ross again and maybe I'll be lucky enough to find one just like the vesselsandwares plates. And next Friday, I wont forget to post. Promise:)


Happy Baking!


Tuesday, May 10, 2011

. I love MUM .

Pin It


Happy Mother's Day!
Oops, this post is a couple days late so maybe I should say Happy "BELATED" Mother's Day to all you mamas out there.
I wanted to make a gift that was especially sweet and pretty for my friends and family who are proud to hold the title of "mommy." Something that was chocolatey, pink, shimmery and flowery -- key elements of the perfect mother's day present (well, mine anyway;) hehe. So I made some Chrysanthemum cupcakes. Pink ones of course.
I saw a picture of some really pretty light pink and yellow ones sometime ago when I browsing through a couple of cupcake images for inspiration. As soon as I saw them, I was instantly in love <3~~ The idea was from the creative mind of Martha Stewart. I just couldn't pass up the opportunity to make them. And what perfect time to make them than Mother's Day! Then, the other day, I found some super adorable girly pink polka dot cupcake liners. It was a sign telling me its time to make some pretty cupcakes!

Here's what you need:
Tools:
  • cupcakes
  • your favorite white buttercream frosting (stiff consistency is best for better formed flowers)
  • icing gel color (color choice is entirely up to you)
  • couplers
  • pastry bags
  • pastry tips (#80 fluted, and #3 round) actually any small round tip will fine too.

Procedure:
(adapted from martha stewart)
Color your frosting. Use two different colors (one for the base and another for your actual color.) I did pink  flowers and left the rest white for my base.
Frost all your cupcakes with a thin layer of buttercream. This will be the base for your flowers. if you like a lot frosting, then by all means add more:)
To make the flower, fit your pastry bags with couplers and fill with frosting.
Use the round tip first, to make a 1/2 inch dot in the center of the cupcake. this will serve as your giude and anchor for placing your petals.
Next change your pastry tip to the #80 fluted one to make the petals. Start at the dot in the center of your cupcake and pull the icing out till you reach the edge of the cupcake ending in an upward, curved stroke.
Work your way around the center dot until you feel there are enough petals for the bottom layer. (be careful not to go petal-piping crazy though)
Next, make another layer of petals on top of your first layer. Try to place them on the top middle part of the 1st layer to get a full effect. Be sure to make these petals a bit shorted than your first layer.
Keep doing this procedure until you've completely covered your center dot.
Pipe little dots with your constrast colored frosting into the middle part of your flower to cover up any imperfections and to complete the flower's look. Or you could use pearlized sugar sprinkles like I did. Be creative:)
Lastly, eat them up. Haha. Or give them as pretty gifts:) 
You can also refer to this diagram if you're more of a visual learner like I am:

this diagram is from martha's site. I did mine without the leaf.


I had a great time making these. And even though they weren't perfect, I was really satisfied with my end product. I couldn't stop taking pictures!
I'm glad I was able to share these with my friends and family though. Packaging them was just as fun as making them:)


....................


Happy Baking!

Thursday, May 05, 2011

. Cookie Dough Cupcakes Strike Again! .

Pin It

They're baaaaaaaack!

So.....I finally made these cupcakes to see what all the hype was about. My friends had made them before I tried the recipe out for myself and they said that they were delicious. ....and the verdict? I'm gonna have to agree!
Only problem was that I thought that the frosting was a bit too sweet. I think its cause I over did it the piping ~ Sorry but I love me some tall swirly cupcakes!! Here are the pics and if you want to make them again or try them out for the first time, you can click here.